
I’ve made a few different crepe cakes, but despite this, it always takes a gazillion years. Really tasty, but long and laborious. Definitely worth at least one try though :D. Traditional mille crepe cakes have 21 crepe layers (but no one will notice if you do less or more :p. This recipe should provide enough batter and pastry cream for up to ~25-30 crepe layers.
1. Crepes:

For Thanksgiving one of my friends jokingly suggested I make an ice cream cake. I followed through!
This particular recipe has 5 main components: the sponge layers, cranberry puree (used in ice cream and glaze), the ice cream layers, the whipped cream frosting, and the mirror glaze. The recipe seems a bit daunting, but it’s pretty fool-proof and tastes great!
The sponge is based off The Little Eppicurian, the mirror glaze and no churn ice creams are adapted from RosannaPansino and the Food Network, respectively.

I had been wanting to try a matcha roll cake for a while and finally decided to give it a shot. I used The Little Epicurean’s recipe for the sponge component. Adapted it for the guava whipped cream. I love this sponge recipe. I use it for lots of my cakes!
1. Matcha Sponge: (one jelly roll sheet)
- 112g cake flour
- 1 tsp baking powder
- 1/4 tsp salt
- 5 large eggs, separated
- 156 g granulated sugar
- 60 g whole milk
- Preheat oven to 400F. Line baking sheet with parchment paper or silpat.
- Whisk together sifted flour, baking powder, and salt.
- In a different, large bowl, whisk egg yolks, sugar, and milk until pale.
- Separately, whisk egg whites until medium stiff peaks (if you whisk too stiff, it’s harder to incorporate).
- Add dry mixture to wet mixture and fold together. Then slowly fold in the medium stiff egg whites. Be careful not to deflate them too much.
- Pour batter onto the baking sheet and then rap the sheet down a few times to release any big air bubbles.
- Bake for 8-9 minutes (a toothpick should go in and out cleanly).
- Invert cake, remove silpat or parchment paper and let cool.Whichever side is nicer, let that side be the outside of the roll (bottom).
- Let cool.
2. Guava Whipped Cream:
 UPDATE 2019 I now use 55 g almond flour, 50 g powdered sugar, 45 g egg whites, 45 g granulated sugar and bake for 25 min at 285F.
Update Jan 2020, lately I’ve been doing 305F for 20min. once again you just nead to learn your oven (going to leave this recipe at 285 though). See my notes in my General Macarons Recipe for the most up to date.
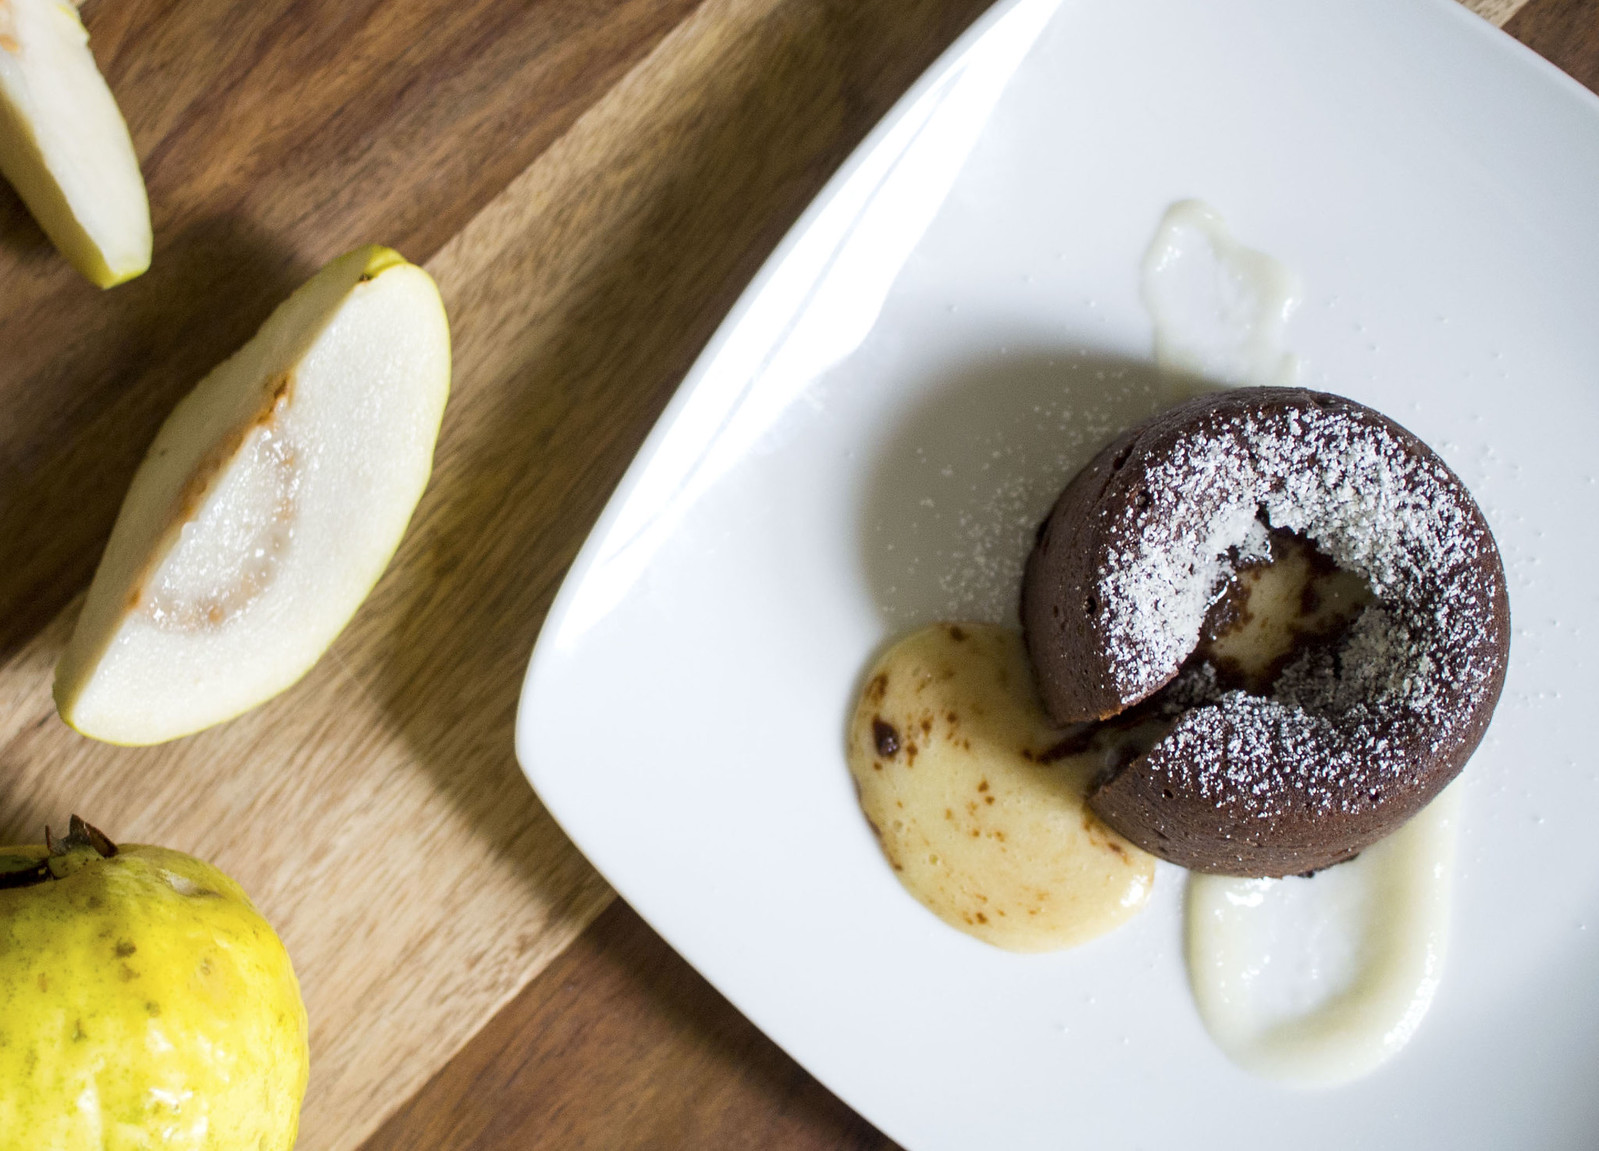
Lava cakes are a simple and delicious dessert that don’t take much time to make and bake. Changing up the filling is super easy as well! This recipe is for about 4ish servings. [usually 3 chocolate + inside flavor and 1 just inside flavor].
NOTE 1: This is my first time using a fruit puree in the lava cake base, so it made it a bit runny. However, chilling it in the fridge for a few minutes before piping it into the ramekin helped.
 UPDATE 2019 I now use 55 g almond flour, 50 g powdered sugar, 45 g egg whites, 45 g granulated sugar and bake for 25 min at 285F.
Update Jan 2020, lately I’ve been doing 305F for 20min. once again you just nead to learn your oven (going to leave this recipe at 285 though). See my notes in my General Macarons Recipe for the most up to date.
I really wish I was good at cakes. I’m not. The Victoria sponge/ sponge I use for layer cakes is always meh after I refridgerate. But I’ll include what I used regardless (it’s adapted from The Kitchn).
I use Joconde as a base for mousse cakes and for thin layer cakes on their own. It’s what often used for layers in opera cakes or those alphabet ones. Chiffons are fluffier, so if I’m not doing a lot of layers, I prefer those. I don’t actually have a chiffon pan, so I just use normal baking pans and they work fine.
Choux is super simple and delicious. I’ve tried adding flavorings to it, but since there’s so much butter it’s difficult. I’d say just focus on the filling flavor. Here I’ll talk about hojicha flavored diplomat cream, with commentary if you want to do a fruit flavor. Any flavor works. With or without the puree or powder. For the best result, add flavoring to both the custard and whipped cream.
Also started adding craquelin (crunch part on top). It’s pretty awesome. Will include the recipe but it’s not necessary.
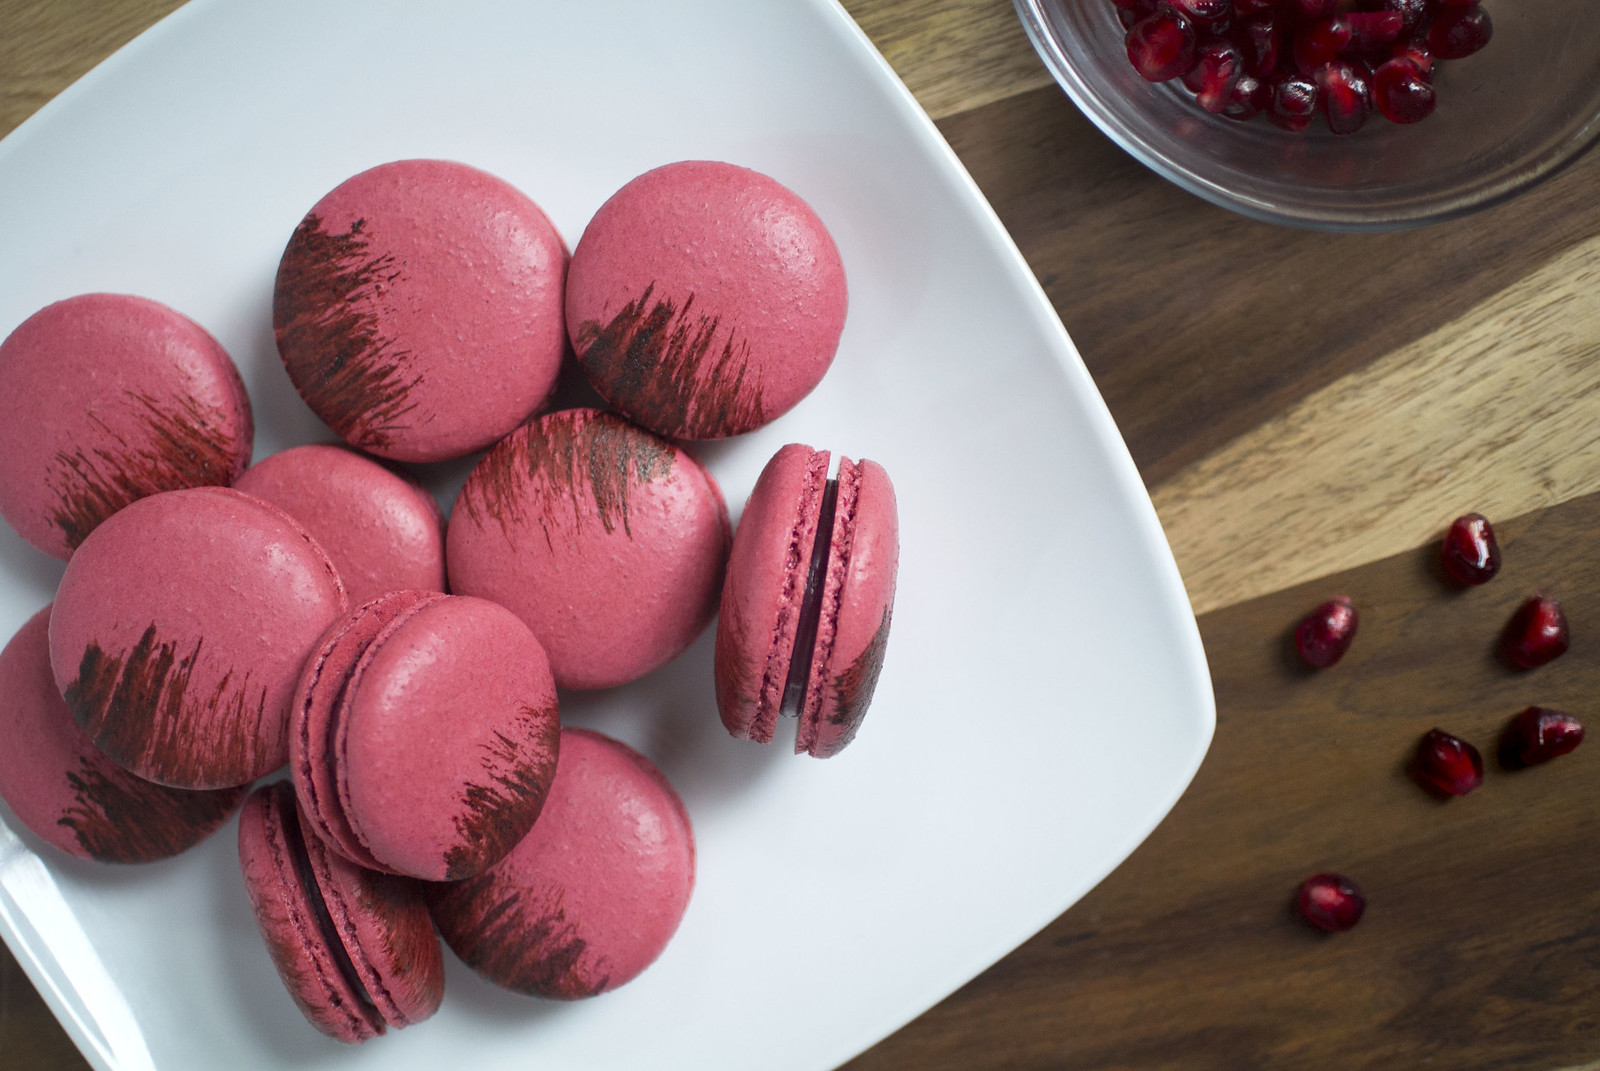
Macarons are dumb. But here’s the recipe I use that produces mostly okay ones (slightly adapted, though mostly taken from Bottega Tinnie).
UPDATE: 2023, I have been using 55 g almond flour and 55 g powdered sugar. Shells are slightly more stable.
1. Macaron Shells: For about 12-14 1.5 inch macarons
- 55 g almond flour (sift, no big almond pieces)
- 55 g powdered sugar
- 45 g egg whites (room temp)
- 45 g granulated sugar
- for white shells,
- Heads up, oven will need to be at 305F(~152C) in a bit.
- Measure out and pulse your almond flour and powdered sugar in a food processor and sift. This will really help with smooth shells. Add in titanium dioxide (note, this really doesn’t matter, I just like the shells to look a bit whiter). Whisk together and set aside.
- Make your meringue. Lots of recipes call for using room temp or aged egg whites. I used to do this, but it has made no difference. Nowadays I just just use egg whites from eggs straight from the fridge.
Beat/ whisk your egg whites until frothy and then add in the granulated sugar. Some places say to add it a little at a time, but this has never been an issue for me (you just don’t want it to go flying everywhere) Beat until super stiff peaks.
- Macaronage. Look up on Youtube if you’re unfamiliar on how to do so.
- Fold about half your dry ingredients into the meringue until just incorporated and then add the rest and continue folding until just incorporated.
- If you’re adding food coloring, do this now. Now fold until you get a lava like consistency. I fold by pressing and coating the batter along the side of bowl to deflate the meringue a bit and then scraping and collecting it all together. Repeat. You should be able to pick up the spatula and have the batter fall down in a ribbon. I do the figure 8 test, meaning I can scoop up some batter, and it falls off and allows me to make a figure 8 a few times. If it doesn’t fall correctly, I do a few more folds.
- Put the batter into a piping bag with a round tip.
- Pipe out your macarons. I use a silpat (would highly recommend). Hold the bag and piping tip perpendicularly about half an inch or a few cm above the tray and press bag. Batter will radiate outwards (don’t lift while piping). Rap the baking sheet against the table a few times. Pop any air bubbles with a toothpick and swirl the toothpick around a bit to have that hole close up.
- If you want to speed dry your shells, you can use a fan or hold and rotate your baking tray in the oven to use that heat. The oven heat will produce small feet.
- Lately, I’ve just let them rest on their own (~30 minutes). You want to be able to touch the shell and have it not be sticky. Make sure it doesn’t shine and you’re probably good to go.
- For my oven, I bake for about 20 minutes at 305F (~152C). At around 1/2 of the way, I rotate my tray. This is just my oven though, you need to learn if yours has hot spots.
- I take off all my shells from the silpat once they have cooled and then pair them up and decorate.
- For edge brush stroke designs, I get a small ramekin and add a drop of gel food coloring (or two shades of a particular color, side by side) + some edible silver powder + a few drops of vodka (helps it dry quickly). I use a small wide brush that has lots of bristles(think painting brush, but for the kitchen). Dip the brush into the diluted, shiny food coloring (if two colors, make sure to keep each respective color on its own side) and brush onto the shells. Start on the edge and pull towards the center of each shell.
- For single stripe design, I use a small paint brush and just add a stroke to the center of each shell. Once again, I use a drop of gel food coloring, some edible silver powder, and a few drops of vodka.
2. Flavored White Chocolate (or Chocolate) Ganache:
Madeleines are super simple to make and are delicious. You can also be fancy and fill them with a custard. They also work in non-madeleine pans!
If you want to flavor the madelines, just add it to the batter. It can tolerate with powder or tiny bit more liquid!
I’ll include a recipe for black sesame madeleines and a matcha custard filling. If you don’t want the flavor, just don’t add the black sesame :p.