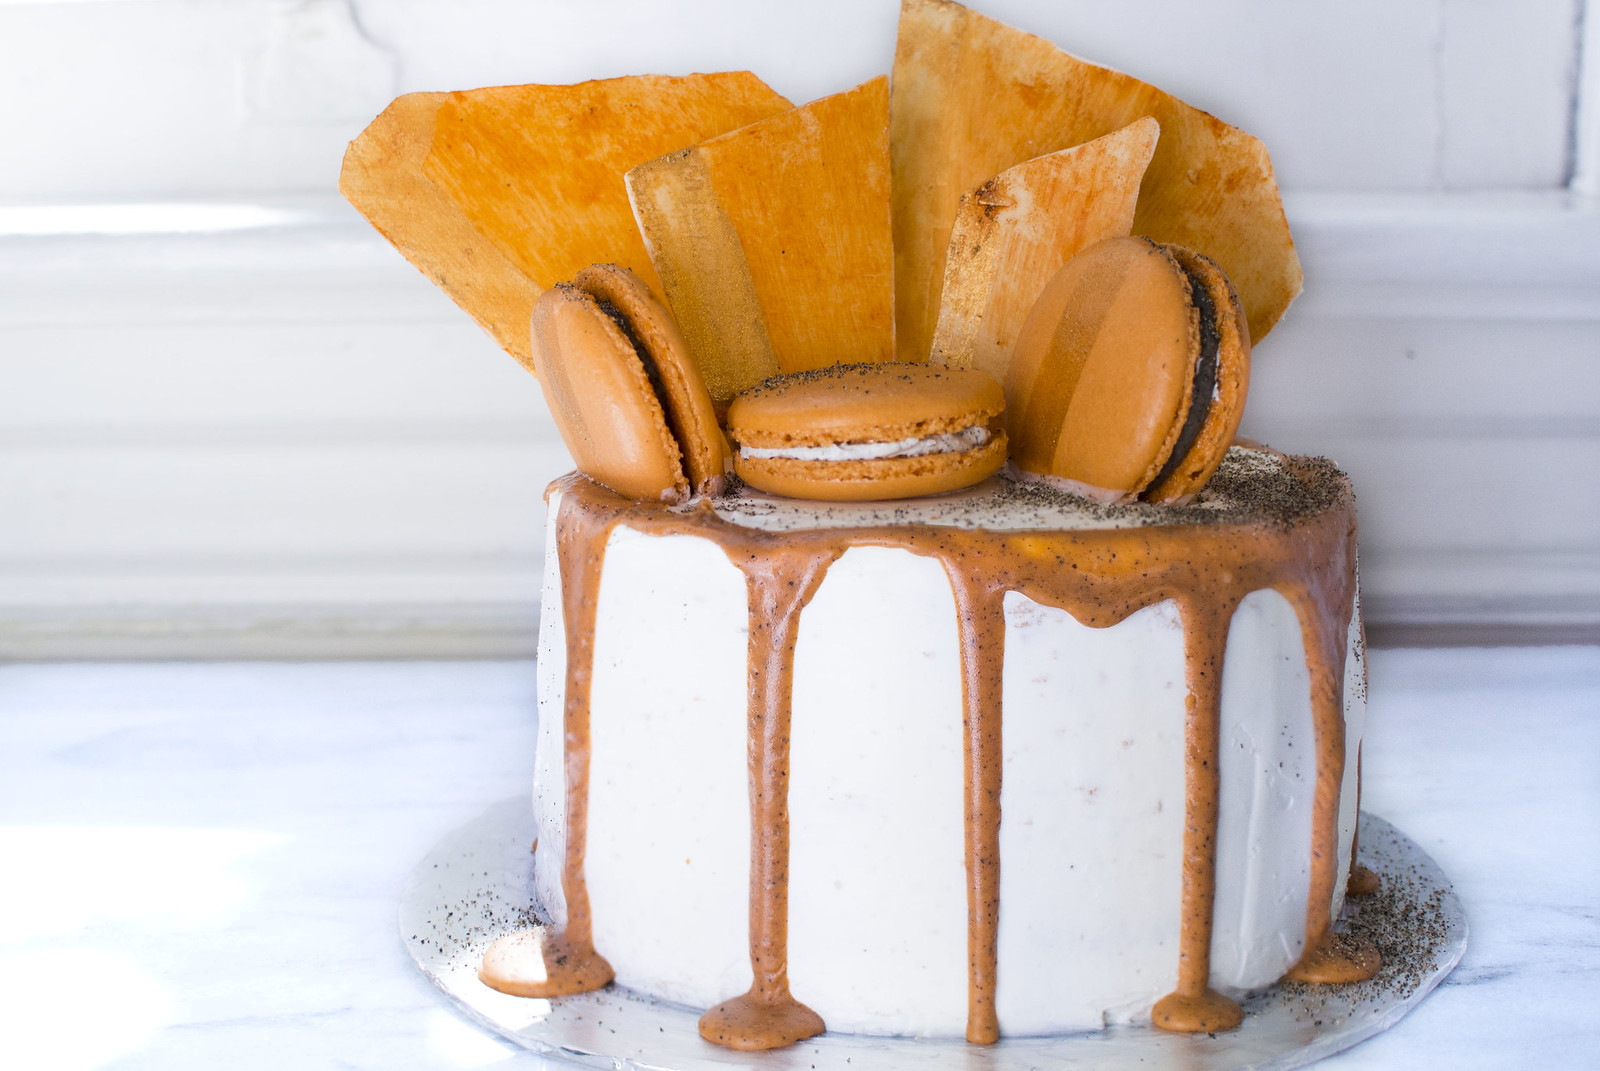
I’ve been really loving Thai tea and black sesame. I’ve also been wanting to try making a buttercream, so made this Thai tea black sesame cake :D. This cake had 5 components. The actual cake (based off Vickii Ma’s ), vanilla/ black sesame buttercream, macarons (shells + buttercream or ganache filling), Thai tea white chocolate drip, and white chocolate shards.
1. Cake [makes four 1.5ish inch tall 6-inch cake layers]
- 5 eggs
- 30 g granulated sugar (1)
- 2 g salt
- 80 g vegetable oil
- 40 g Thai tea leaves
- 180 g water
- 120 g cake flour
- 3.33 g baking powder (2/3 tsp)
- 90 g granulated sugar (2)
- Set oven to 340F. Line baking pan with parchment paper on bottom.
- First, put tea leaves and water in a pot and boil. Turn off heat once boiling and let steep and cool for about 30 min.
- In a large bowl, beat egg yolks and sugar (1) for about 5 minutes until thickened.
- Slowly beat in oil and fully incorporated.
- Strain tea through a sieve and pour into the egg yolk batter, mixing until smooth.
- Sift in baking powder and flour and mix until smooth.
- In a different large bowl, make a meringue with the egg whites and sugar (2). First beat egg whites until foamy, then slowly add in the sugar. Beat until stiff peaks.
- Gently fold in the meringue into the batter in several parts, careful to not fully deflate the meringue.
- Pour the batter into the cake pans and lightly tap to remove any trapped air bubbles.
- Bake for about 30 minutes and resist opening the oven. A toothpick should go in and out nicely.
- Take out and invert the cake pan onto a wire rack. Let fully cool and then run something sharp along the edge to release the cake.
2. Vanilla/ Black Sesame Swiss Buttercream Frosting: (wish I had made a bit more, so maybe use a 1.25 multiplier?)
- 85 g egg whites
- 112.5 g granulated sugar
- pinch of salt
- 339 g butter (3 sticks), room temp
- a few g of vanilla extract
- 35 g black sesame powder
- Combine egg whites, sugar, and salt in a large heat proof bowl and place over a double boiler. Over heat, constantly whisk until temperature has reached 120F ish.
- Take off heat and whisk to stiff peaks. I transferred to a stand mixer with whisk attachment, since it’ll require less work and make your life way easier when you start to incorporate the butter.
- Once stiff peaks have formed, add in vanilla and then start adding in the butter in quick, 20 g ish increments.
- Continue mixing until fully smoothed. Switching to a paddle attachment can expedite the process.
- Once fully mixed, take out half - a bit more than half of the mixture into a bowl and place aside.
- For the remaining buttercream, add the black sesame powder (you can add more or less depending on your preference) and mix until incorporated.
3.1. Macaron Shells: For about 10 1.5 inch macarons:
- 46 g almond flour (sift, no big almond pieces)
- 43 g powdered sugar
- 35 g egg whites (room temp)
- 25 g granulated sugar
- Oven to 325F. Measure out and sift your powdered sugar and almond flour. Whisk together and set aside.
- Make your meringue. I speed warm up my egg whites by putting them in a small container and then putting that container in a bowl with hot water. Takes about 5 min to bring up the temp and doesn’t cook them.
Beat/ whisk your egg whites until frothy and start to incorporate the granulated sugar a bit a time. Beat until stiff peaks. - Macaronage. Look up on Youtube if you’re unfamiliar on how to do so.
- Fold about half your dry ingredients into the meringue until just incorporated and then add the rest and continue folding until just incorporated. Now would be the time to add food coloring. Gel or powder, not liquid. Fold until you get a lava like consistency. Fold by scraping along the edge of the bowl to deflate the meringue a bit and then scooping the batter. Repeat. You should be able to pick up the spatula and have the batter fall down in a ribbon. The ribbon should incorporate back into the main blob after about 10ish seconds. If it doesn’t fall correctly, I do a few more folds.
- Put into a piping bag with a tip.
- Pipe out your macarons. I use a silpat (would highly recommend). Rap the baking sheet against the table a few times. Pop any air bubbles with a toothpick and swirl the toothpick around a bit to have that hole close up.
- I hate waiting for the shells to dry, so I cheat and dry the shells using the oven heat. I do this by opening the oven and holding the tray in the oven, rotating it every 10 seconds or so for about a minute. My hands usually get hot at that point. I take them out for about a minute. Then back in again, rotating, for another 30 seconds. This quickly dries out the shells and makes a skin without having to wait 30 minutes at room temp (especially if it’s humid!) :p.
You want to be able to touch the shell and have it not be sticky. Make sure it doesn’t shine and you’re probably good to go. - Bake for 9 minutes at 315F and rotate the pan and drop to 300F for another 9 minutes.
3.2. Black Sesame Ganache Filling: (I only did this because I ran out of black sesame buttercream :p)
- 75 g white chocolate
- 35 g heavy cream
- 10 g black sesame powder
- Heat up cream and black sesame into a small saucepan and heat until just simmering. Turn off heat.
- Over a double boiler, add the white chocolate and begin to melt. When most of the chocolate has started to melt, add the cream/ black sesame.
- Take off the double boiler and mix until incorporated. If the ganache splits, add some more cream and mix mix mix.
- Let cool before piping into the macaron shells.
4. Thai tea White Chocolate Drip:
- 60 g white chocolate
- 30 g heavy cream
- 10 g strained Thai tea
- Resteep a small amount of Thai tea.
- In a small pot, add the cream and Thai tea and heat until just simmering.
- Being to melt the white chocolate over a double boiler and then add the cream/ Thai tea and remove from heat.
- Mix until incorporated and add more Thai tea if it separates (surprisingly, water can be an instigator in splitting a ganache, but it can also save it).
- Chill and if the consistency still is too runny, you can always melt some more white chocolate to incorporate into it.
5. White Chocolate Shards:
- 110 g white chocolate
- So this is only white chocolate. Start to melt on a double boiler and take off when most of the white chocolate is melted.
- Stir until fully melted and let cool slightly.
- Pour onto a piece of parchment paper in a sheet pan and spread with a spatula, relatively evenly and not too thin.
- Using some sort of metal (I used a knife), cut through the melted chocolate for shard shapes. That way they’re be ready to go once it sets.
- Place into the fridge to fully harden.
Assembly:
- A cake turn table is super helpful. You should invest in one!
- Even up your cake layers if you want with a cake leveler of a bread knife.
- I put the vanilla buttercream into a piping bag with a large tip.
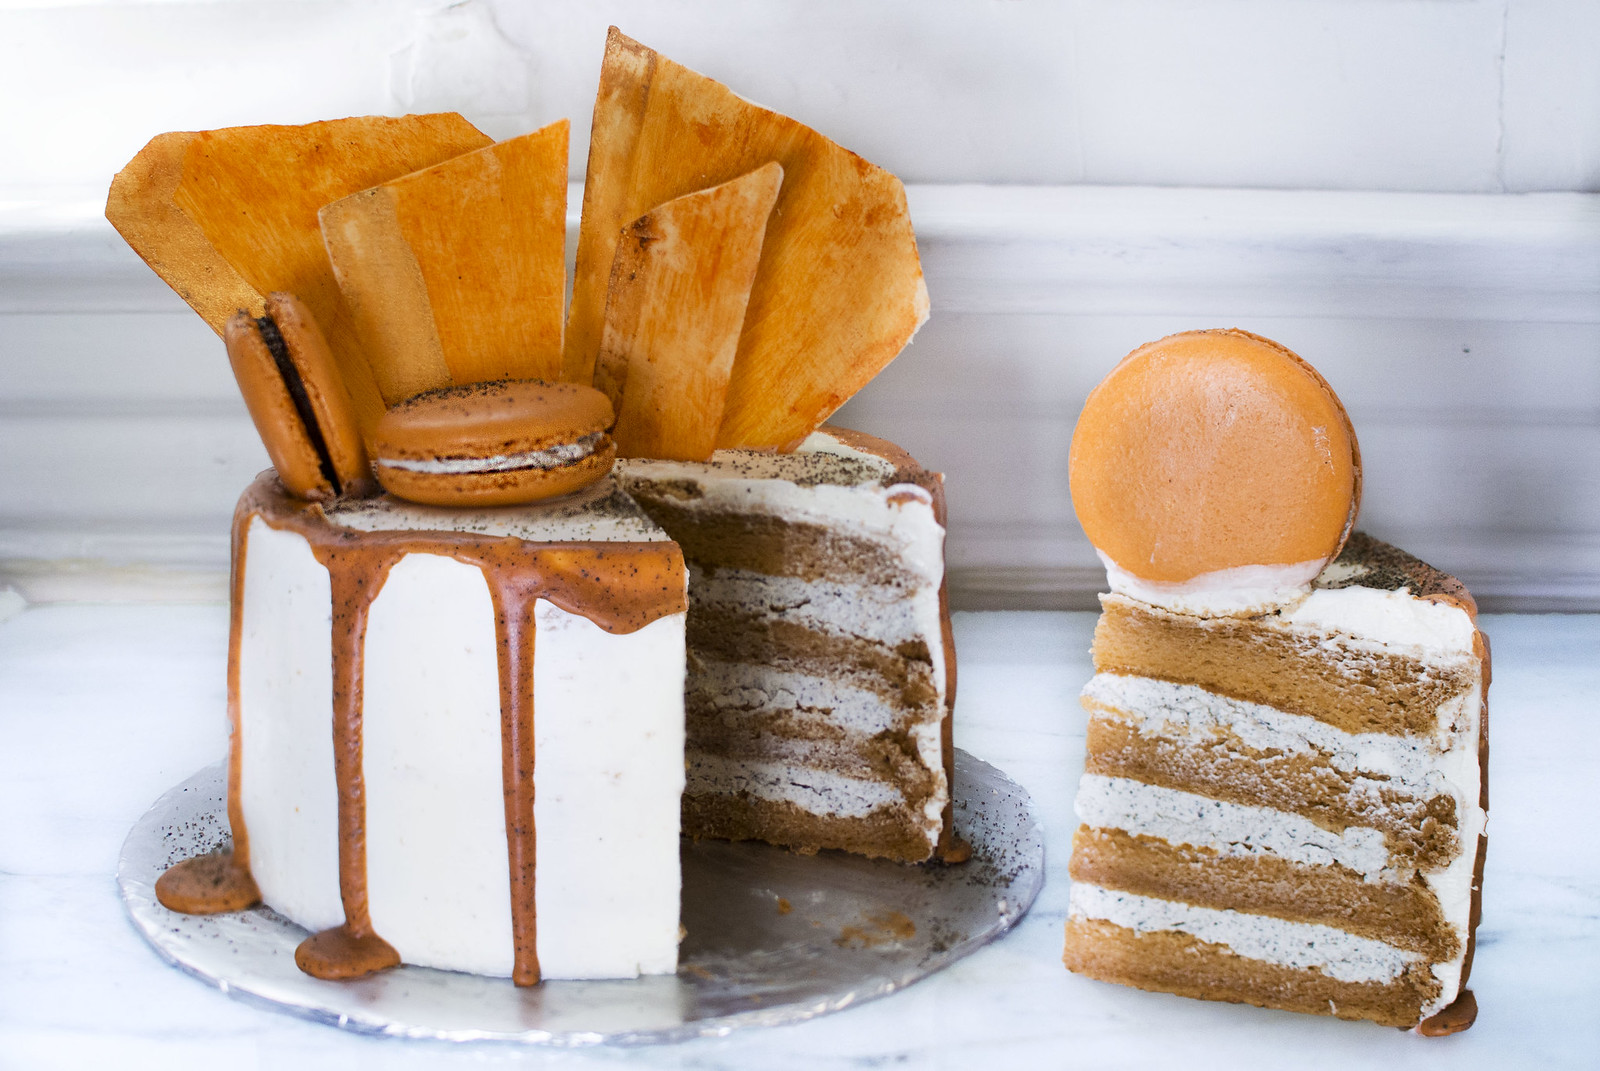
- Place your first layer down onto a cake board or plate and add a border around the rim with vanilla. Add black sesame buttercream to the center and spread out.
- Repeat until you don’t have any cake layers left. Press down and even out the sides a bit. Then using the vanilla buttercream, fill in the missing areas begin to smooth out the cake. Try to coat the cake with a thin layer of buttercream for your crumb coat then throw into the fridge to cool a bit.
- After about 10 minutes cooling, finish up spreading the rest of the buttercream onto the cake. The turn table, a nice cake smoother, and a large offset spatula does wonders. Place the cake back into the fridge once the buttercream is smooth.
- Assemble macarons by piping the fillings in. Either the black sesame buttercream or the ganache. Or whatever you like.
- Paint the chocolate shards with a food coloring/vodka dilution of your choice. I also painted on some gold dust after the orange color dried.
- Take out the cooled cake and now add the drips. It doesn’t matter too much how you do it, just try to vary the amount you squeeze out a location.
- Finally add the shards and the macarons. I also dusted with some black sesame powder.
Additional Notes:
- Assemble and frost your cake before making the drip. Otherwise the drip will harden before you have time to use it.
- Cakes are dumb and take long. Take that into consideration when deciding when to start.
Gluck!
-Mario
Share this post
Twitter
Facebook
Reddit
Email